Thursday, November 29, 2012

Roasted Acorn Squash with Quinoa, Spinach and Dried Cranberries

Pin It Now!
Okay so it's almost December, and that means the end of food bloggers obsessed w/ every iteration of the gourd category, right? Wrong! Just when I thought Thanksgiving was the last time I'd want to eat squash all year, Martha Shulman at the NYTimes convinced me I needed to give acorn squash a try. All I can say is: Thank you, Martha! I will be eating acorn squash all winter long. 

I changed her recipe up quite a bit, but conceptually it's the same: roasted acorn squash with a grain and a green. I used a blend of spices that gave the squash a Middle Eastern flair, but if you don't have all of these on hand, coarse sea salt and ground black pepper will do just fine. Roasting the squash brings out its natural sweetness, and when it comes out of the oven it is fork-tender. After you try this recipe, you'll be thanking Martha, too. 


Here's what I used to make dinner for two:

  • 1 medium acorn squash 
  • 1 cup of dry quinoa 
  • 1/4 cup of crushed almonds
  • 1/4 cup of dried cranberries 
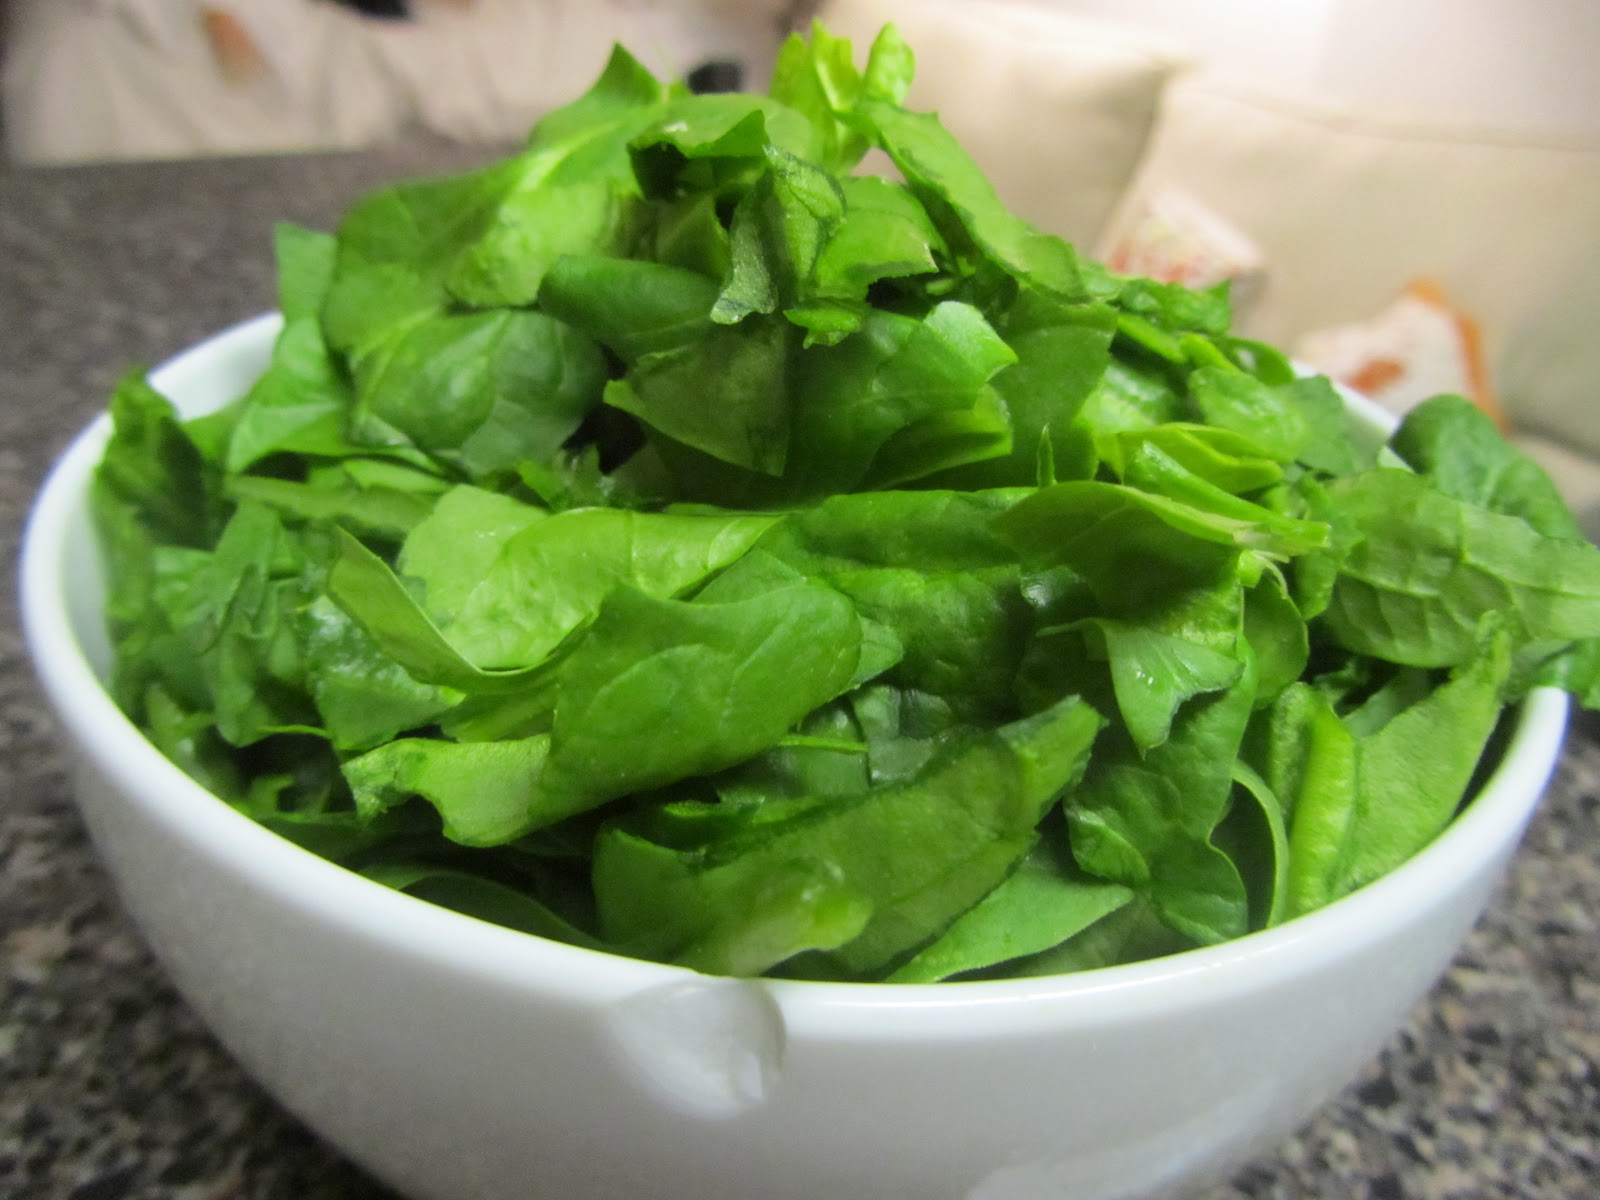
  • 6-8 oz of fresh spinach
  • 2 cloves of garlic
  • 1 Tbsp extra virgin olive oil
  • Sea Salt
  • Ground Black Pepper 
  • Ground Cinnamon
  • Nutmeg
  • Red curry powder
  • Ground coriander 
  • Ground cardamom

First, preheat the oven to 425 degrees. Place the whole acorn squash on a baking sheet and put it in the oven to roast for 35 minutes. 


While your squash is roasting, place the dried cranberries in about 1/2 a cup of water. This will help them rehydrate and plump up a bit.  


If you already have chopped or slivered almonds on hand, toss them in a dry pan over medium heat and toast them up. 


If, like me, you only have whole almonds on hand, put them in a plastic baggie, find something hard, and start smashing. 


See, so easy! No need to run out to buy crushed almonds when you can crush your own. I have to admit that we had a lot of fun smashing them up. Stressful day? Break out the almonds. 


Once you place the almonds in the pan, keep a close eye on them. They will toast pretty quickly, in about 2-3 minutes. As soon as they start to char around the edges, take the pan off the heat and set the almonds aside. 

Cook the quinoa according to the directions on the package. While the quinoa is cooking, wash the spinach and dry it well. Extra water left on the spinach will make it soggy. So, if you have a salad spinner, this is a great time to pull it out. If not, just take a paper towel and pat it dry. Then, finely chop the garlic cloves. When the quinoa has 5 minutes left, heat 1 Tbsp of extra virgin olive in a medium-sized sauce pan, toss the garlic in the pan, and let it turn golden brown for 2-3 minutes. Then, place the spinach into the pan, stir it into garlic and olive oil and let it wilt for 1-2 minutes. 


You want the spinach to keep its bright green color - not that icky dark green goop that some people serve. We like bright, crisp vegetables! As soon as the spinach starts to wilt, take it off the heat. Drain the liquid from the cranberries, and then toss the spinach and the cranberries into the quinoa. 

Add the toasted almonds into the quinoa and give the whole mixture a stir.


Take the quinoa off the heat. At this point, your acorn squash should be just about finished roasting. Once the 35 minutes have passed, pull the acorn squash out of the oven and let it cool for 2 minutes. Then, slice it in half and scoop out the seeds. Here is where the Middle Eastern seasoning comes in. The measurements aren't precise, so just go with your gut. And if you have questions, leave them in the comments section below. I lightly sprinkled all of the spices over the roasted squash: sea salt, black pepper, cinnamon, nutmeg, red curry, coriander, and cardamom. 


Then, using a large serving spoon, scoop the quinoa salad into the middle of acorn squash. We paired this with a cabernet sauvingnon. It was the perfect complement and made for a healthy and delicious dinner on a cold winter night! 


The perfect bite. 


Wednesday, November 28, 2012

Happy Hour Gems: Vidalia

Pin It Now!
Vidalia - Washington, DC
Image Courtesy of: Vidalia Facebook Page
Here at fooDCrave, not only do we enjoy going out for a delicious dinner, but we also love imbibing in a great happy hour around the neighborhood.  A few weeks ago, Liz and I had planned to meet for a drink before she escaped to New Jersey for the weekend.  We decided to go a bit swankier than normal and try out Smith & Wollensky, but when we arrived were told that they actually don't have specials anymore.  As many of you know, I strongly believe in the restaurant gods, and I definitely consider this another occasion where they were looking out for us!  A minute later, I realized we were right around the corner from Vidalia and suggested we try it out.  


Vidalia is a local southern-inspired restaurant by Jeffrey Buben that has been on my list of places to try for a while.  DC already has a good number of Southern themed restaurants (Georgia BrownsEatonville, etc), so I am happy to report that they did not disappoint! Everything we ate and drank off the happy hour menu was delicious. 


Though the restaurant has been around for some time, they are constantly updating their menu.  For example, in February, the bar added an interactive element to their happy hour; they added burners to the bar area for chefs to create custom bites in front of patrons.  We really enjoyed getting to see our food being made and were even offered a free appetizer from the chef!  Score!  Also, the drink specials were awesome.  We didn't try out the cocktails, but there were plenty of affordable beer and wine choices.  Liz and I each opted for my favorite beer, Allagash White, which was only $3 during happy hour!  


We didn't plan to order food, but when we saw the food coming out, we could not resist.  By the end of hour happy hour, we had ordered practically the whole menu!  On the menu there were about 8 small bite options.  We started with a pulled pork slider, a cheese plate - which actually contained one type of cheese and two accompaniments - and bbq shrimp served over cornbread.  Each of the dishes were bite sized, but were appropriately portioned for the price (each bite ran about $3-$6). We shared all of the plates, dividing them up and savoring  every delectable bite.  The pulled pork was tender and incredibly flavorful -we were licking our fingers with the tangy sauce!  The bbq shrimp, however, was probably my favorite of the night.  The shrimp and cornbread were swimming in this delicious tangy sauce that I wanted to pick up and drink at the end.  Luckily, Liz stopped me. 


Although we hadn't even planned to eat in the first place, after sampling a few of the options, we decided to go back in for more!  Next, we ordered the deviled crab salad with "vegetable chow chow", and the crawfish hush puppies. The hush puppies were probably our least favorite sampling of the evening.  They were deep fried balls with a somewhat tasteless filling.  The crab salad, however, was delicious.  It tasted extremely fresh, was not too heavy on the mayonnaise, and was served atop a crunchy johnnycake


The service at the bar was impeccable. They didn't lose patience with us for our constant stream of questions - like asking what johnnycakes and chow chow are!  We're Yankees, can you tell? Even when a large party entered the bar area, we still received constant attention from the bartenders.  The bar area also had a more relaxed seating area with couches that were filled with young professionals.  Based on the food and the service, I will definitely be back soon!  

Have you guys been to Vidalia for dinner recently? What do you recommend? 

Wednesday, November 21, 2012

Food Stamp Challenge: In Review

Pin It Now!

The Food Stamp Challenge is called a challenge for a reason. At points we both struggled to get through the week. But the challenges were different than we expected them to be. Before we went grocery shopping, we expected to eat a lot of junk food to fill us up and that we'd barely have enough food to get us through the week. After all, Mario Batali reported he was "(expletive removed) starving" when he did the Food Stamp Challenge. With A LOT of planning, we were actually able to have three healthy and relatively filling meals each day. We opted for healthier ingredients like whole grains, small amounts of fruit and vegetables, and lean meat; and therefore did not have much money left over for snacks. Although we both missed snacks, we felt better knowing our meals were healthy.

Oatmeal with banana and cinnamon every morning
The real challenge for us was the repetition. We repeated the same meals day after day all week long. By day three, neither of us wanted to look at oatmeal, lentil soup or pasta again. But we were stuck with what we had planned. In a regular week, we rarely eat the same thing two nights in a row, let alone every single meal of every single day. But on a Food Stamp Diet, you don't have the luxury of variety. You have to find the most cost-efficient way to stretch your money, and the easiest way to do that is to buy fewer items in bulk.

Nights 4 and 5: Rigatoni with sauteed spinach and broccoli

After the repetition, the second hardest part was our inability to join our friends in social outings - mainly eating out. We turned down invitations and ate meals before joining friends on the weekend. Although we'd like to report to you that we did a perfect job this week, the truth is that we both were taken out to lunch or dinner two times during the week. While neither of us spent any money at these meals, we weren't only eating the food from our home.

Amanda's Baked Ziti was delicious, but by day 3 we didn't even want to look at it anymore 
We have mixed feelings about our decision to go out eat. On the one hand, the point of this challenge was to put ourselves in the place of individuals who rely on foods stamps and to truly do this. Thus, shouldn't we have eaten every meal with the money we could afford on food stamps? On the other hand, we were quite grateful to have meals provided for us that were much better than what we could afford - and imagine that anyone who is eating on food stamps would feel the same. We would love feedback on this from you guys. Do you think it was okay to accept food that we didn't pay for or did that undermine the challenge?

Ultimately, our objective was to deepen our understanding and raise awareness of the hunger problems in the District. We don't feel this was compromised. Although we cannot pretend to truly understand the real challenge of relying on food stamps, this exercise reminded us how thankful we are that we don't worry where our next meal is coming from. As a way of demonstrating our thanks for what we have, we are both donating a week of groceries to Charlie's Place, an anti-hunger, anti-homelessness organization that provides food, hygiene, and job-searching assistance in DC. If you have the ability, please consider making a donation to Charlie's PlaceCapital Area Food BankBread for the City, or any other organization that provides meals to those in need. Thanks for sticking with us through the week-long challenge!

Happy Thanksgiving,


&

Thursday, November 15, 2012

Food Stamp Challenge Day 4 & Baked Ziti

Pin It Now!
We are in the midst of day four of the Food Stamp Challenge and I have to admit, I am getting tired of oatmeal.  Breakfast is generally not my most exciting meal of the day, but today I was craving a huge omelet, home fries, and toast.  Oh, and a Bloody Mary of course.  No great breakfast meal is complete without a Bloody Mary.  That being said, this challenge has truly brought me a great sense of perspective on how challenging it is to consume good food for low cost.  In talking with a friend, I admitted that I would have loved to buy 7 frozen pizzas for dinner to spread across the week.  I mean, come on, I am not going to get tired of pizza.  On a budget, (and in my opinion) it's simply much easier to get more unhealthy food for your buck. 

As I write, I'm seriously in a hunger induced daze.  I've been trying to stretch out my meals as long as possible into the day so that I don't go to bed hungry.  I've been eating breakfast at 11 am, lunch at 1:30 pm and dinner around 7:30 pm.  Still, my stomach is growling by the time I crawl under the covers.  Not being able to eat what I want, when I want, has proven to be much more challenging that I originally thought.  The Goldfish in my pantry have been calling my name.  But, I would not trade this experience for anything. 

One of the meals I've been using to get me through the week is Baked Ziti.  This is a go-to recipe for large group meals, or when I know I'm going to have a busy week and no time to cook.  I've made this for a friend studying for law school finals, dinner parties, and various other events, and have always gotten rave reviews.  Simple and budget friendly.  Are those two of my favorite themes?  I thought you would never notice.

To make this deliciously simple meal you will need:

  • 1 box Ziti (or whatever kind of tubular pasta you prefer)
  • 2 jars of Tomato Sauce 
  • 2 cups shredded mozzarella cheese
  • 1 container part skim ricotta cheese
  • 1/2 pound - 1 pound of ground beef, shredded chicken, or ground turkey (feel free to go veg if you prefer) - we used 1/3 lb of ground beef to save money.
  • Parmesan cheese 
  • 1 teaspoon onion powder
  • 1 teaspoon garlic powder
  • 2 teaspoons dried basil leaf
  • 1 tablespoon olive oil

To begin, preheat your oven to 375 degrees.  Bring a pot of water to a boil. Cook pasta around 8 or 9 minutes.  

Depending on your choice of meat, you should cook that while the pasta is on the stove.  Heat the olive oil in a frying pan over medium heat.  Add ground beef or ground turkey along with the spices and cook until no longer pink.  This should be done by the time the pasta is done cooking.  If you choose to use chicken as your meat, that may take a bit longer to cook on the stove depending on thickness.  Ensure that you have cooked the chicken and shredded it by the time the pasta is done cooking.


Strain the pasta and return to it to the pot.  Then, add half the container of ricotta cheese and a little more than 1/2 the jar of sauce to the pot.  Stir together until pasta is blended with cheese and sauce.  Add the meat to the pot and mix well. (Note: Because we used such a small amount of meat, I chose not to mix in the meat directly, but rather layered it on top of the pasta.)


Next, spread just enough sauce to cover the bottom of an 11 x 13 glass baking pan.   Spread half the pasta mixture in the pan.  Top with another layer of sauce, then mozzarella cheese and a few shakes of Parmesan cheese.  Repeat process for top layer.


Cover dish with aluminum foil and bake in oven for 30 minutes.  Remove the foil, then bake for an additional 15-20 minutes or until cheese is golden brown.  Once the ziti has cooled, serve topped with additional sauce and ricotta cheese if you desire.


Do you have any go to recipes for busy weeks? I love this one because it tastes great all week long.  Do you prefer meat in your pasta?  If so, what kind?  Have you ever tried any more exotic meat like venison or bison (those are exotic to me!)? Let us know in the comments section.


Food Stamp Challenge: Day 3 & Lentil Soup

Pin It Now!
This lentil soup is actually one of my favorite soup recipes; I make it a couple of times each fall/winter. I was very excited to learn I could afford the ingredients on my food stamp budget. I adapted the recipe slightly from a William Sonoma cookbook. Not only is it wallet-friendly, but it is healthy, super easy to make, and very filling. I was also able to buy a small whole-wheat baguette for only $1.69, and have been eating a bowl of soup and a piece of the bread for lunch each day this week. Although this soup is so flavorful, I have to admit I am getting a bit sick of it eating the same thing every day. But when you are on a budget, you don't necessarily have the luxury of variety. I used up a lot of my budget on these ingredients, so I did not have the money for a lot of other options. That said, the soup is really delicious and makes a great fall/winter winter meal as long as you don't eat it every day. 

To make the lentil soup you will need: 
  • 2 Tablespoons Olive Oil
  • 1 yellow onion, roughly chopped
  • 1 carrot, peeled and sliced thin
  • 3 cloves of garlic, minced
  • 1 bay leaf or 1 teaspoon crushed bay leaves
  • 2 teaspoons curry powder
  • 1 can diced tomatoes
  • 2 cups dried brown or pink lentils; picked over, rinsed, and drained
  • 1 lemon, sliced horizontally -- skin on
  • 1 cup (2 oz/60 g) fresh spinach, coarsely chopped
  • 7-8 cups broth. Usually I used two boxes of  vegetable broth, but to save money, I used bouillion cubes. There was no noticeable difference in taste.   


Getting all of this prepped ahead of time makes the cooking so much easier! 

The lemons add such great depth to the flavor! 


Saved the rest of the bunch for dinner later in the week!  


First, heat the oil in a large pot for approximately 1-2 minutes. Then, add the onions, shredded carrot, and garlic, and sauté them for about 5 minutes or until the vegetables are soft.


Next, stir the curry powder into the veggies and cook for about 1-2 minutes or until you smell it wafting out of the pot. The curry smells SO good mixed in with the other seasonings! After tasting it, I can assure you it smells A LOT better than it tastes at this stage!


Then, add the can of diced tomatoes (including the juice), the bay leaf, the lentils, the chicken or vegetable stock, and the lemon slices. Bring the whole pot to a simmer over medium-high heat. Once it starts to bubble, reduce heat to medium-low and partially cover the pot. 
Simmer the pot on the stove, stirring occasionally, until lentils are soft, which should take about 30 minutes. After 30 minutes, much of the broth should have absorbed into the lentils, and look like this:


Next, scoop out the lemon slices and bay leaf. If you used crushed bay leaves, just leave them in there. Then, add the chopped spinach into the pot and give it a good stir. 


Truly treasuring some of the only greens I've seen all week! 


Let it cook for another minute and the take it off the heat. You can add salt and pepper to taste, although I don't think it needs anything else! 


I actually forgot to scoop out the lemons until after I tossed in the spinach. No biggie, just pulled them out afterwards!


Lunch for the week!


Come back this afternoon for Amanda's hearty and delicious baked ziti recipe!